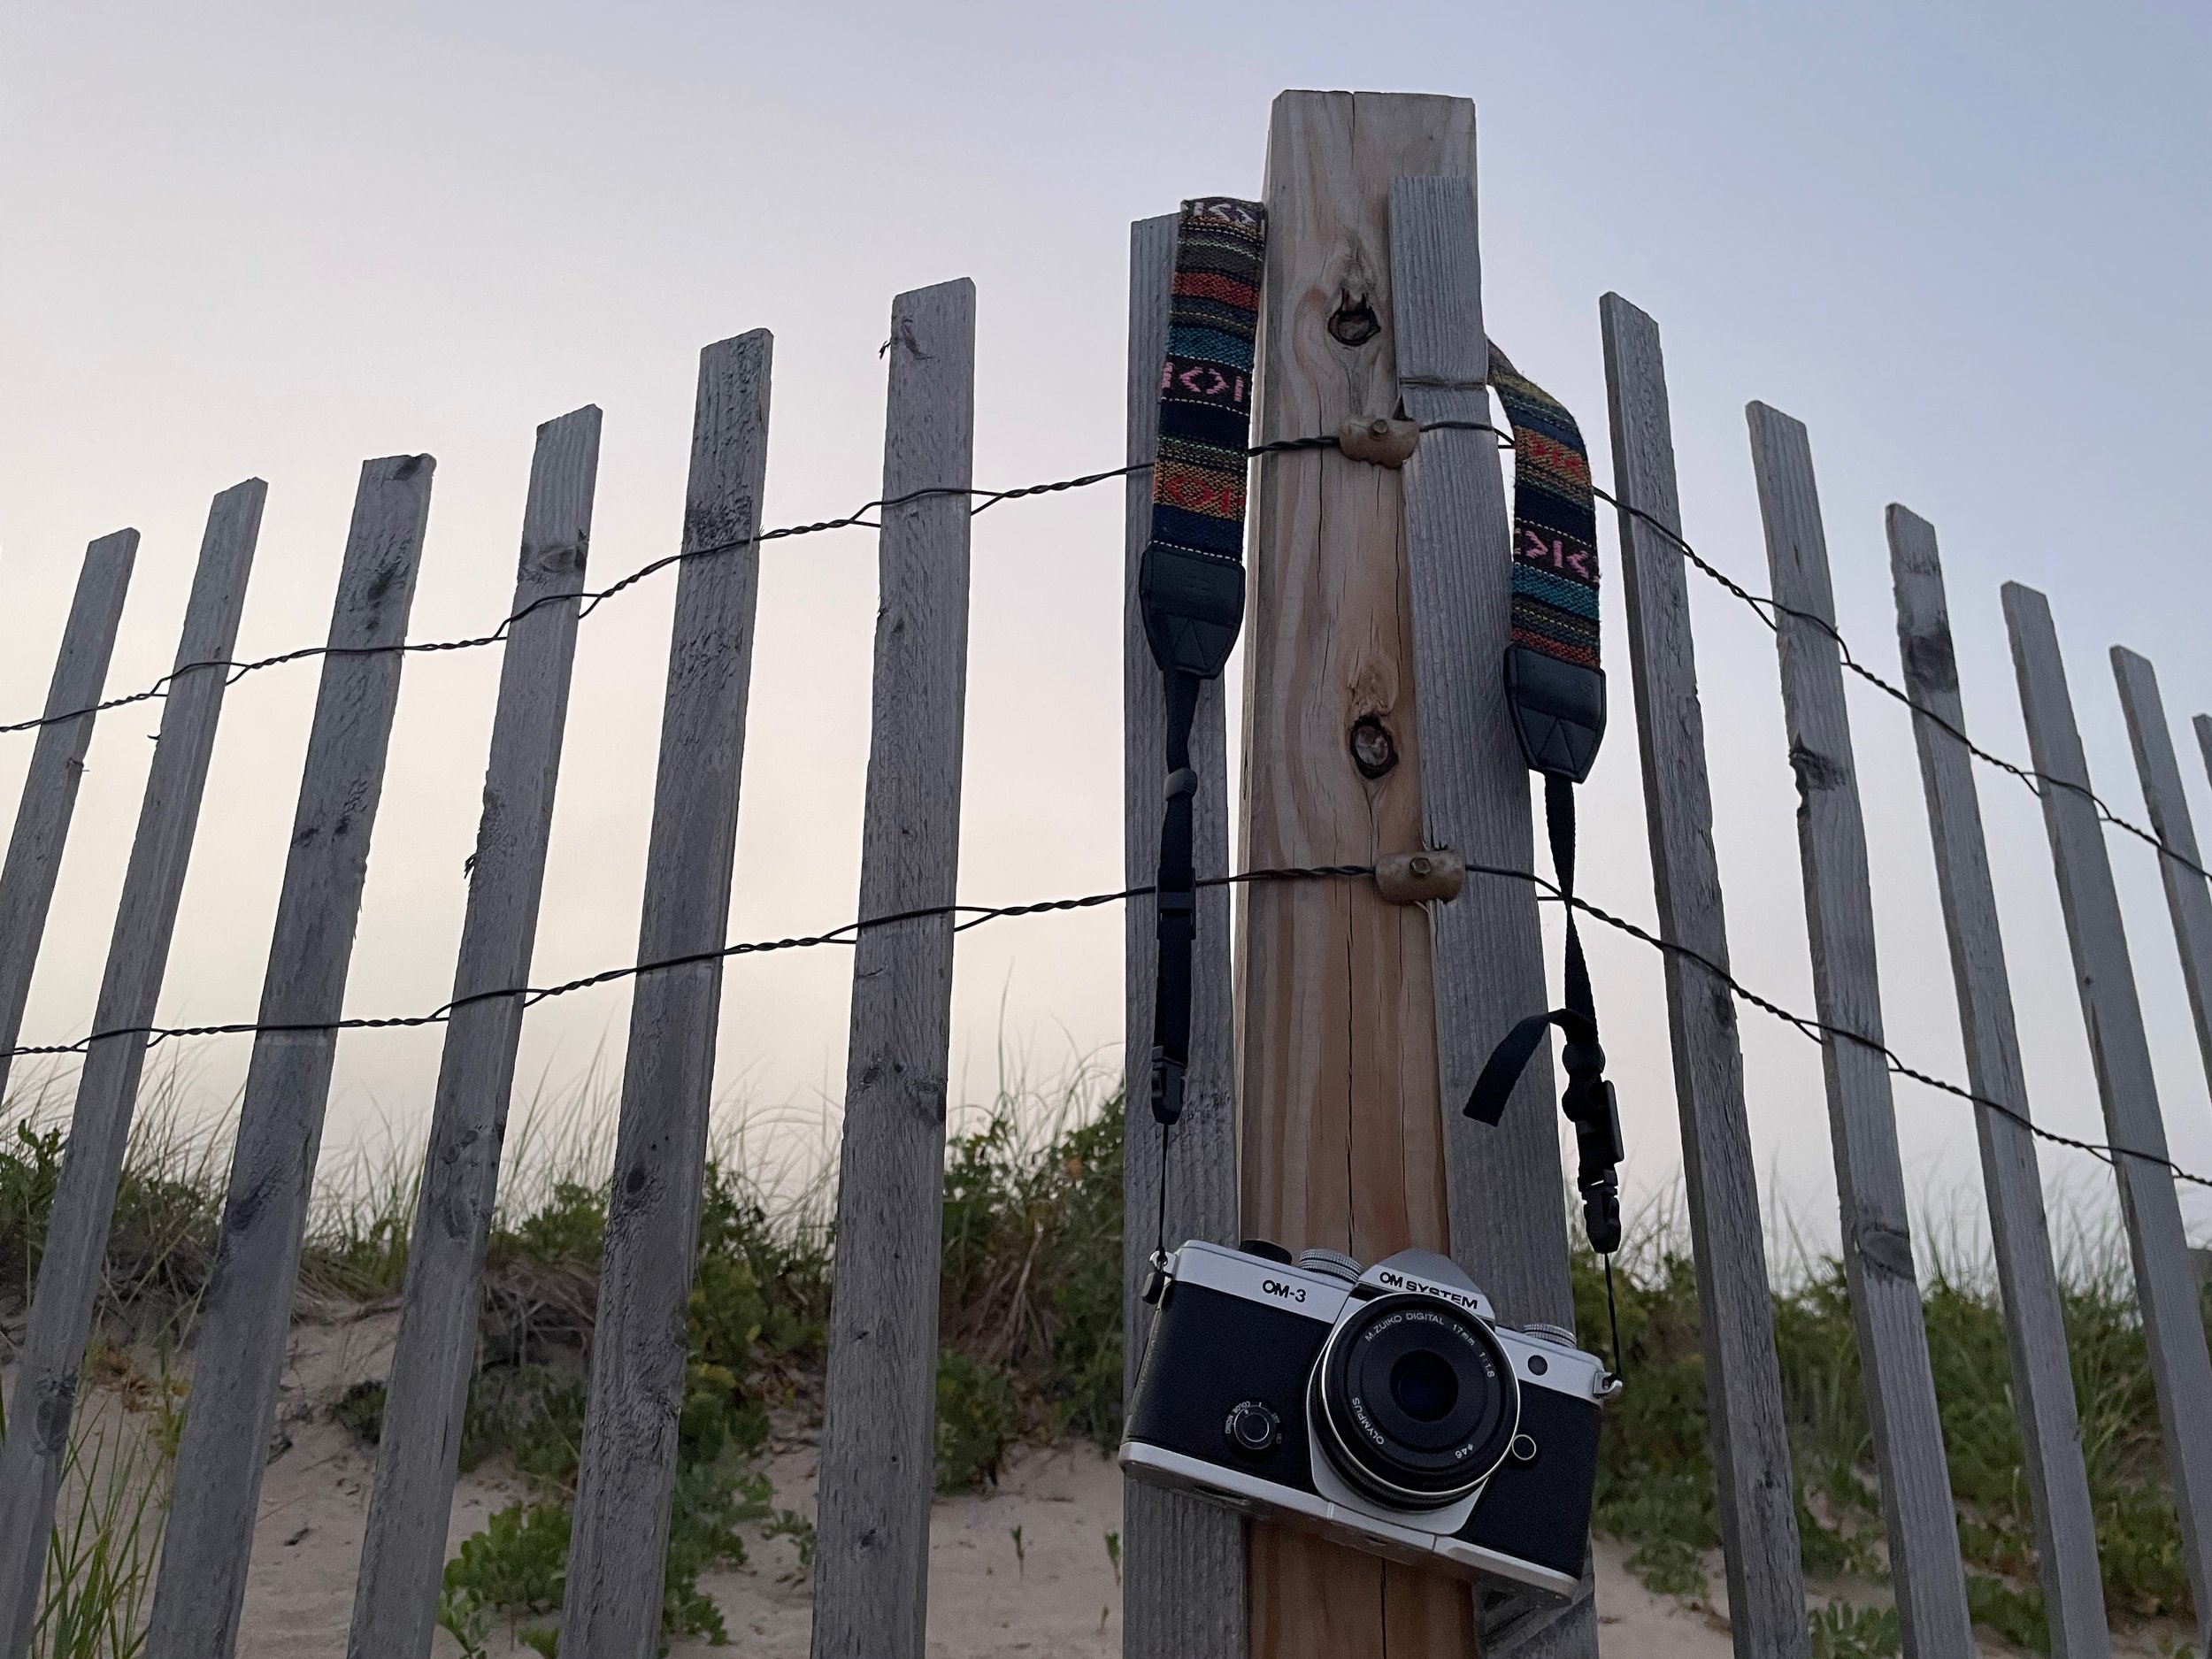
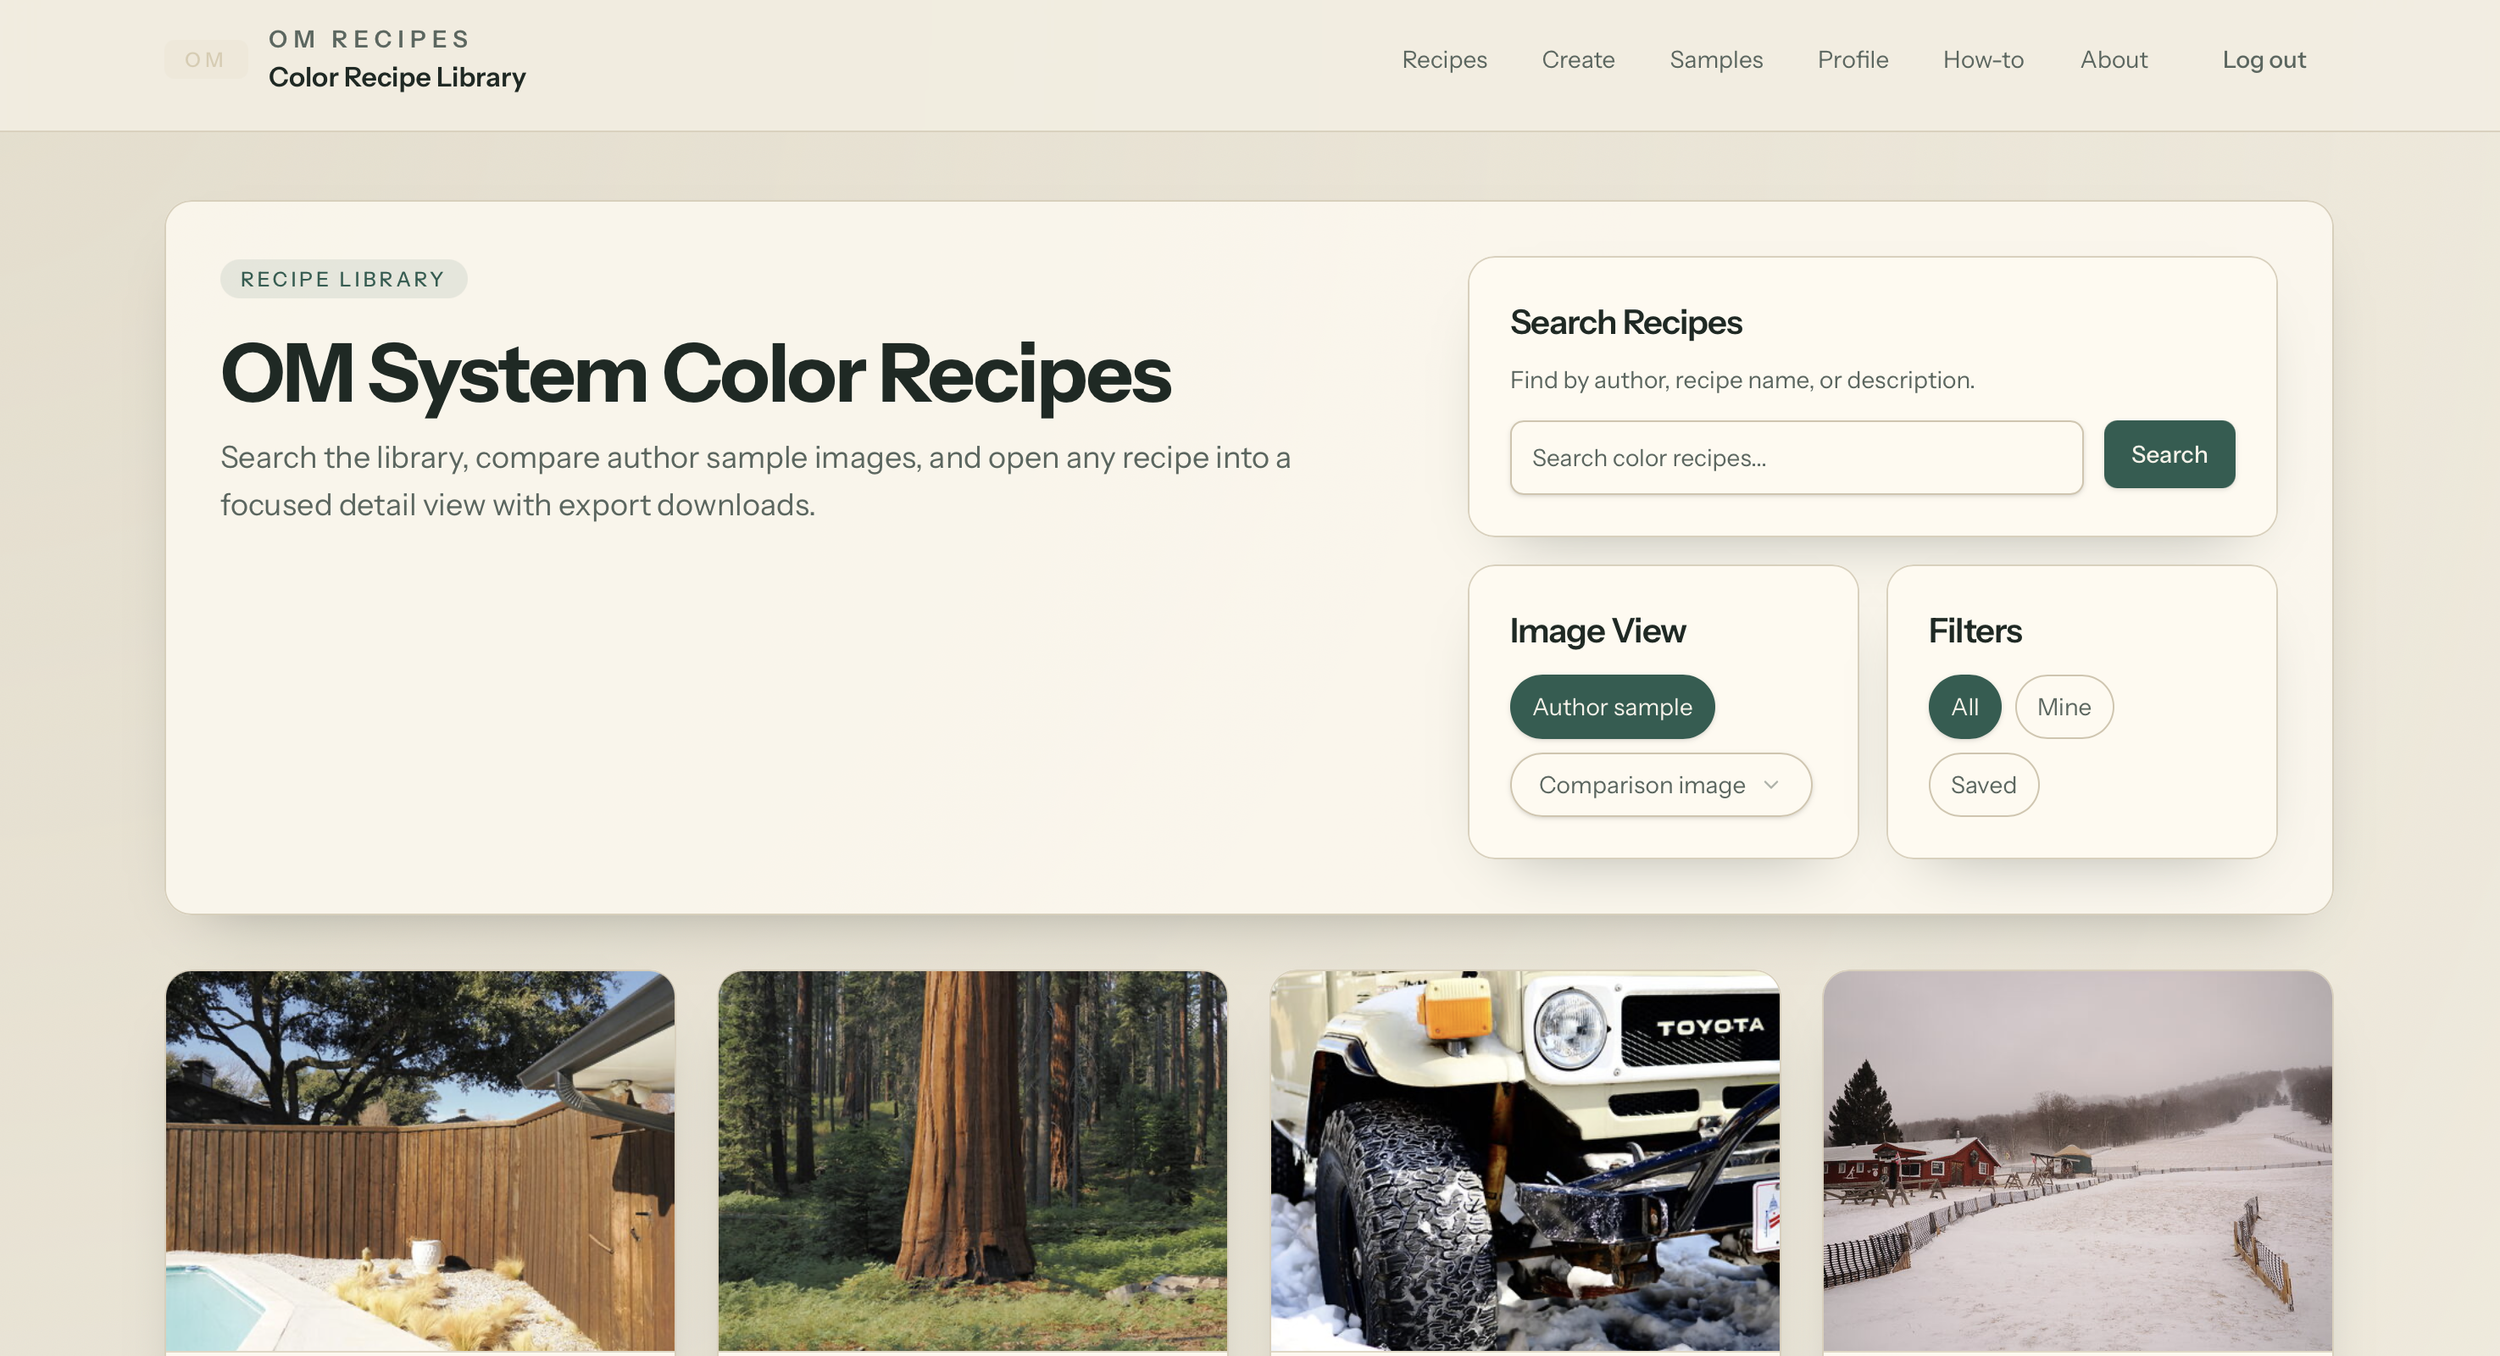
OM-3 Color Recipes
The OM-3 color wheel offers a fun way to experiment with color while shooting. Of course anything can be done in post processing. But there’s a resonance with your (the photographer’s) emotional state with the image you see while shooting. Seeing your pictures painted in vibrant, subdued, or contrasty monochrome while you shoot pulls you into the moment and inspires you to keep shooting.
But there are a lot of options, and it isn’t as easy as one might like to switch between them. This page will host the information I learn and the recipes I discover or create for use with my OM-3. It’s also a motivator and medium for me to expand my understanding of colors.
The color wheel has five modes — one is normal mode, one is CRT (color creator which exists in other Olympus/OM-System cameras), one is ART mode (featuring the classic art modes included in previous Olympus cameras), one is Color mode (only in OM-3 / PEN-F) and one is MONO model (only for OM-3 / PEN-F).
Unfortunately you can’t re-program these dial modes. So even if you have no use for any of the ART or CRT modes, you can’t re-purpose those dial settings.
COLOR
Create and use one of four custom color profiles.
This is the main distinguishing feature of the color dial. You can define four custom pictures modes, each with customizable saturation for 12 individual colors, a customizable tone curve allowing shadows, mid-tone, and highlight adjustments, vignettes, sharpness, and contrast. This allows you to dial and access basic color grading settings with the built in jpeg engine.
As with other modes, changes to these color profiles are saved between on/off cycles, and between normal modes (P/A/S/M/B). But each custom mode (C1-C5) retains its own separate settings.
I was a little surprised and disappointed at how limited these are, and how they are relatively difficult to switch between. The dial puts you into color mode, but you have to use the super control panel to switch between them. There is no option to have a button or dial switch between modes. And you can’t assign color modes to ART or CRT modes.
It’s also regrettable that these profiles aren’t tied to white balance (which is frequently included in film simulations). That means multiple setting changes to try to implement a particular film mode. You really need to lean into the C1-C5 custom modes if you want to quickly switch between color profiles.
Default COLOR Profiles
There are four default color profiles. The OM-3 manual describes them like this:
Film Simulations
I find it interesting to start my journey of exploring color in photography by referencing film stocks. A lot of research and history went into designing these, and it’s interesting to learn and explore the differences and nuances in the digital age.
Unfortunately I don’t find any of these particularly compelling, at least with the test shots I used in overcast light.
PORTRA 160 (MEDISIN)
PORTRA 400 (MEDISIN)
KODACHROME 25 (Gareth B.)
KODACHROME 64 (Gareth B.)
VELVIA 50 (VideoPic)
Ali O’Keefe’s Recipes
Ali O’Keefe (One Month Two Cameras) recently published 5 recipes for the OM-3. She describes them succinctly and accurately on her blog along with the intention and suggested conditions. I won’t reproduce them here since they’re easily accessible on her own page. These are the most well thought out and in my experience reliable settings I’ve used so far.
OMTC Warm: Golden, punchy, rich skin tones. A bit of that Kodak warmth.
OMTC Cool: Clean, neutral, contrasty but calm. Think Fuji Provia or 400H. (same as warm with WB shift)
OMTC Soft: Meyerowitz/Cape Light. Soft, dreamy, pastel with luminous highlights.
OMTC Chrome: Slide film feel. High punch, crisp edges, moody shadows.
OMTC Mono: Tri-X pushed to 800. Bold, punchy, rich texture.
Dave Herring’s Recipe
Dave Herring published a YouTube video detailing his recipe for the OM-3 color wheel. He tweaks the high-saturation COLOR3 profile, bringing down greens and yellows a bit and introduces his own take to white balance.
Isaac/ibd’s Fuji Inspired Recipes
A few years ago Isaac/ibd shared a set of 10 approximations in a thread on cameraderie.org that detailed Fujifilm recipes created by global optimization & hill climbing against actual examples.
Pro Neg Hi
Pro Neg Std
Classic Neg
Eterna
Acros
COLOR1 (Default)
Described in the manual as “the standard natural preset..”
All settings are at 0. This provides the baseline that customizations can be built on.
COLOR2 (Default)
Described in the manual as “a color tone with depth and richness.”
Similar to Kodachrome 64 according to Isaac Mitropoulos in his excellent OM-3 review post. Yellows and blues are slightly enhanced (+1) while reds and greens slightly more subdued (0). Highlights are boosted +3 and shadows dropped -3.
COLOR3 (Default)
Manual describes it as “a film-like effect with high saturation and rich colors”
Similar to Kodak Ektrachrome according to Isaac Mitropoulos in his excellent OM-3 review post. This basically takes the vibrance up to +4 for everything except purple, which only gets +3. Similarly highlights are boosted +4 and shadows dropped -4. Basically this is cranking colors and contrast up to maximum.
COLOR4 (Default)
Manual describes it as “a light and soft color tone.” It mimics soft chrome film.
This drops yellows way down to -4, and drops purple/blue back -1. Highlights +3, shadows -3.
Dave Herring’s Vibrant Chrome
Dave Herring shared these settings to dial in a vibrant chrome profile emphasizing reds. It’s based on the COLOR 3 default, but drops saturation of greens and uses a custom white balance of 5200K for daylight with B+1, M+1 adjustments.
IsaacBD’s PROVIA
The profile for provia ended up very close to the default COLOR1 setting. The only differences are a small shift toward Amber and Green, and a small bump of green saturation. This seems to match the description on the fujifilm site describing a provia simulation as an even balance in both saturation and tonality dimensions, making it versatile and robust for a variety of situations. This is very similar to what Olympus/OM System choose as their default.
IsaacBD’s VELVIA
This profile was generated by ibd’s script to match images created with a fuji camera’s Velvia film simulation. It’s interesting to compare it to other velvia approximations. It’s also interested to consider it alongside qualitative descriptions of the film. This old article from fujifilm-x.com provides some interesting notes — like enhancing magentas to make the blues more memorable.
VideoPic’s VELVIA 50
This profile was designed by VideoPic at DPR in this post. I believe he used DxO FilmPack output as a reference when building this. Highlights and midtones are boosted. Yellows, oranges, reds, blues, purples are enhanced (though more modestly than COLOR3) to +2/+3. Pinks are reduced, perhaps to help with skin tones.
IsaacBD’s ASTIA
I find this nearly indistinguishable from provia in the lighthouse test picture. Highlights and mids are dropped, but exposure compensation balances that out. Blues should be more saturated, and mint green significantly desaturated. This preset increases contrast, which actually seems to match the fujifilm description of Astia having a little contrast added for sharpness. Astia is a portrait film. It should be close to ProNeg Hi, but with more saturation and more tonality. It’s designed for natural light and action shots. It shouldn’t wash out in highs. The softness is reportedly limited to skin tones, and shadows are hard to add sharpness.
IsaacBD’s CLASSIC CHROME
This slightly desaturates almost every color, drops exposure slightly, raises mids to compensate, and adds another point of amber. It resembles most of the attempts at film simulation that I dialed in to an old E-M5 mark ii using global saturation and contrast controls. The look isn’t my preference for my own typical applications, but it does seem faithful to the fujifilm description. CLASSIC CHROME is the color analog to monochrome film. Tonality (which I think essentially means contrast) is the key. It’s the opposite of velvia — taking color out and focusing on the tonality or contrast to make the picture. In fujifilm’s description the shadows are hard, but towards the highlights contrast gets softer. I think this is what pushing the mids accomplishes.
OMTC Warm
This recipe comes from Ali for One Month Two Cameras. She describes it as golden, punchy, a bit of kodak warmth. She recommends using it for cooler, mid-day, dappled light. Suggests avoiding indoors or golden hour. (The sample shot is colden hour so keep that in mind).
OMTC Cool
This recipe comes from Ali for One Month Two Cameras. She describes it as clean, neutral, contrasty but calm. Like Provia or 400H. She recommends using it for sunset, travel and avoiding it in flat or overcast light. It’s identical to OMTC Warm but with less amber offset in the white balance.
MEDISN’s PORTRA 160
This profile was designed by Isaac Mitropoulos in his excellent OM-3 review post.
MEDISN’s PORTRA 400
This profile was designed by Isaac Mitropoulos in his excellent OM-3 review post. It knocks back saturation in all colors, especially blues and purples.
Gareth’s KODACHROME 25
This profile was shared by Gareth B. in a mu-43.com post. Shadows are crushed, highlights and midtones merged. Yellows, blues, and greens are knocked back. Orange and red are enhanced. Gareth notes that heavily desaturated greens were a characteristic of Kodachrome 25.
Source: mu-43 post via Rob Trek’s YouTube video.
Note: In Rob’s video and Gareth’s post WB should be -2 Amber and +2 Green.
Also see Henry Richardson’s post in dpreview forums.
Interesting tidbit about one of my hero photographers Galen Rowell:
“Kodachrome II was ASA 25 and Kodachrome X was ASA 64. They were replaced in 1974 with: Kodachrome 25 was ASA 25 and Kodachrome 64 was ASA 64.
Kodachrome 25 and Kodachrome 64 came out in 1974. I recall that Galen Rowell didn't like Kodachrome 25 as well as Kodachrome II so before it was too late he bought hundreds of rolls of Kodachrome II and put them in his freezer. I think he was still using them when he died in the plane crash in 2002.”
Gareth’s KODACHROME 64
This profile was designed by Gareth B. in a mu-43.com post. It’s like KODACHROME 25, but crushes shadows more and knocks back yellows and purple even more.
MONO
Use one of four custom monochrome profiles.
This dial mode functions much the same as the COLOR dial, except each of the four profiles is monochrome.
You can define color filters for eight colors (yellow, orange, red, magenta, blue, cyan, green, yellow-green) in 3 levels of intensity. You can also adjust the tone curves for shadows, mid-tones, and highlights. As with COLOR you can adjust vignetting, sharpness, and contrast.
With MONO you can also add film grain with three levels (low/medium/high) and define the color overtones (sepia, blue, purple, green).
CRT
Change Vivid setting from -4 to +3 for all or one particular color.
The CRT mode allows you to change saturation for one particular color. This can impart a yellow or blue overtone across the entire image.
I don't find much use for this mode. The Dragons Father (Kevin Harding) mentions in this post on mu-43.com that he uses the CRT dial as a Leica Mono clone. The only way I can image that working is if the vibrance is pulled all the way to -4. That’s an interesting way to squeeze another monochrome profile out of the dial. Thus three of the dial positions can be used for various monochrome profiles (CRT at -4 which apparently is like Leica Mono), ART mode with B&W mode, and MONO dial.
Change to vibrance are saved across camera on/off and non-custom mode dial (P/A/S/M/B) changes. Each custom mode dial (C1-C5) can retrain its own individual settings.
ART
Use one of Olympus’s ART mode filters.
This dial mode functions the same way the ART mode dial does on the older and lower-end models (like the E-M5/OM-5 line). You can choose an art mode and customize it with effects like frames and vignettes and filters or grain for B&W.
As with CRT, changes persist across reboots and between mode dial switches for normal P/A/S/M/B modes, but are saved separately for each custom mode. This operates as I would expect, and it would be nice if I used ART modes often. As it stands the two B&W art modes seem the most appealing. The others seem over-done and played out, like instagram filters of a decade ago.